
In this last installment of this series on how to shoot the night sky, I am going to look past the simple math and talk about what makes a shot of the night sky really stand out. Sure, the first tiem you get a shot of the Milky Way, it is going to feel rewarding. Soon thereafter, though, you are going to get that old creative itch to up your game.
Location, Location, Location
Yes, it may be a no-brainer to get out way from city lights if you are going to get a good shot of the Milky Way, but getting a dark sky is only half the battle. To get a shot that you (or maybe someone else) will want to put up on the wall, you need to add a few more pieces to the puzzle.
Probably the most overlooked element of a night scene is the foreground itself. This sort of stands to reason. If it is pitch black, why worry about what you can’t see? It may not be obvious at first, but you can add quite a bit of visual interest to a starry scene with just a little through to your foreground. I look at foreground interest in three main categories: silhouettes, reflections and things you throw a little light on.
Silhouettes
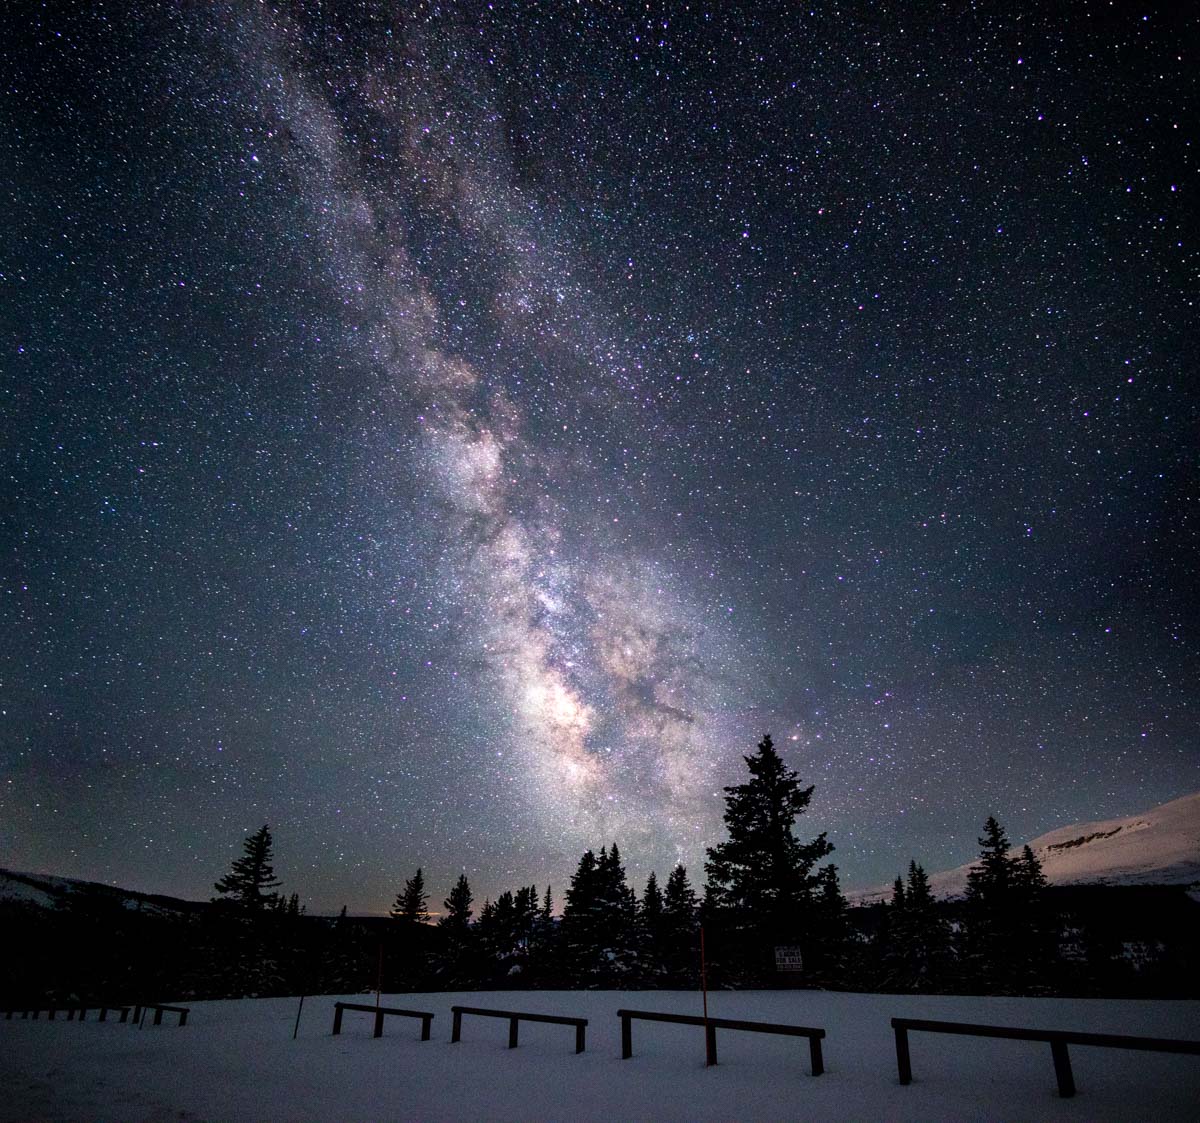
This is probably the simplest of the three potential classes of objects to include in your image. Be it a tree, bridge, widow frame from an old run down cabin, cliff … you name it; if it is higher than the lens and between you and the Milky Way, it might be a good candidate for adding into your image.
A black shape on a mostly black sky is going to be hard to make out, though, so you will need to be choosy to keep the area without stars from feeling like an accident or print error. Allowing a recognizable portion of the foreground object to intrude on a portion of the sky (either the Milky Way or a glow along the horizon) that is bright enough to allow the shape to be clearly identifiable can help.
It may also help to add just a touch of light if a straight black silhouette isn’t doing the trick. More on that in a minute, though.
Reflections
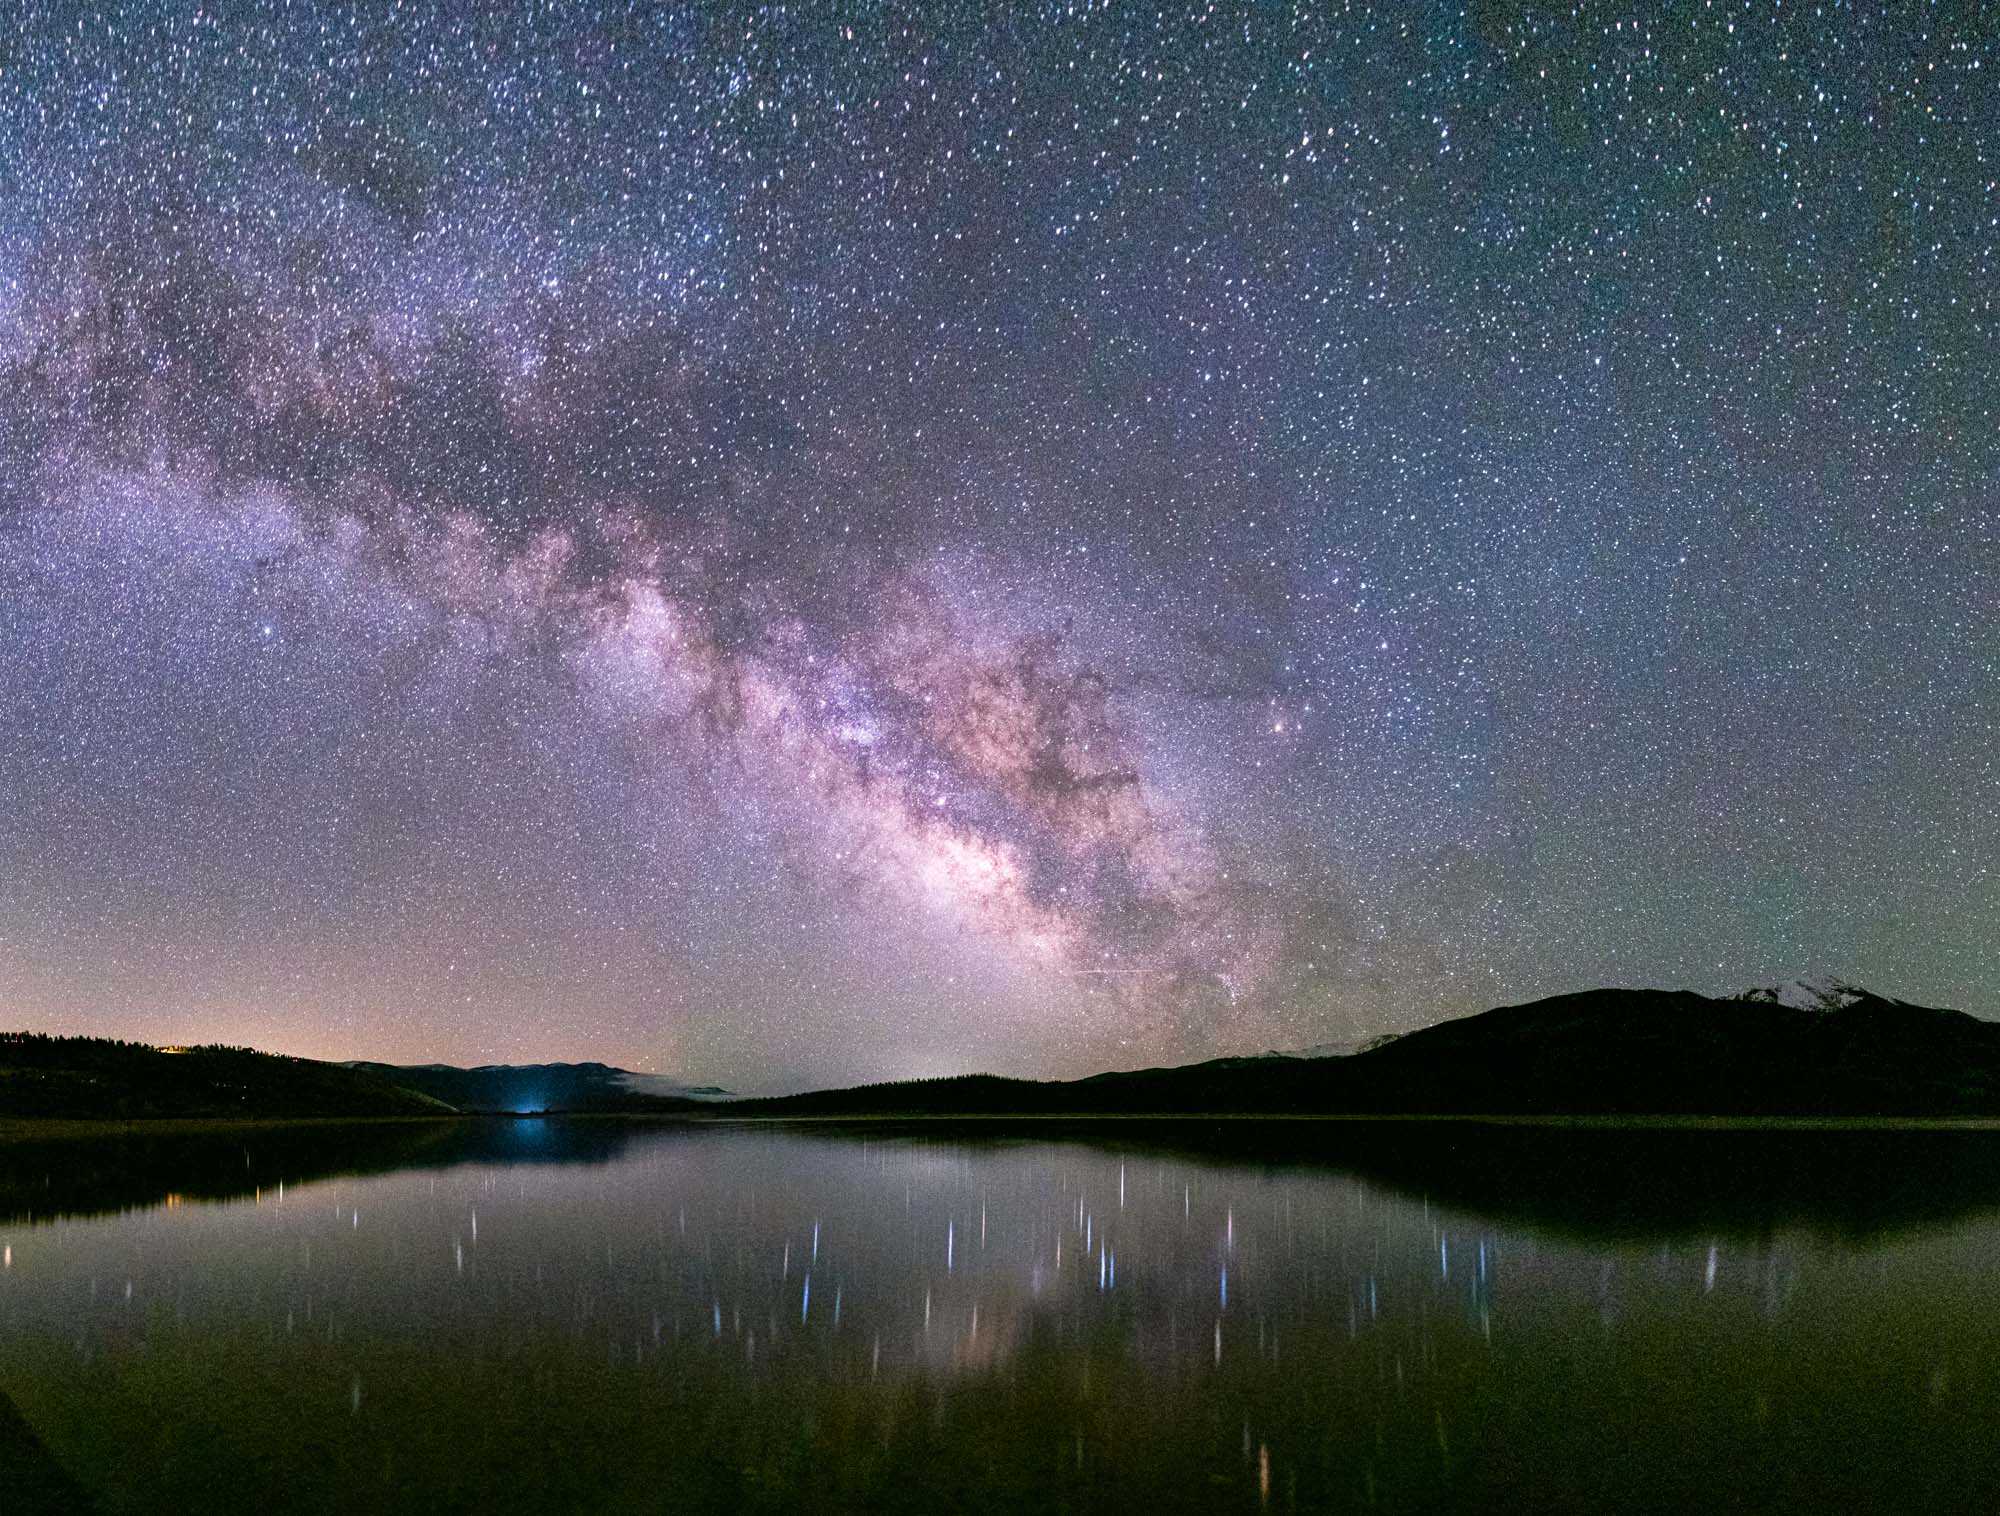
Windows, lakes, rivers, the sea … with the right conditions, many different things can give you a reflection that will help ground your image and connect those amazing stars to the here and now.
Though you need rare conditions, absolutely flat water makes for a dramatic visual complement to the stars. The larger the body of water, the harder it is to get perfectly flat conditions, which brings me to a small trick I found along the way.
Since you are likely shooting the Milky Way with a wide angle lens, it pays to remember that small things can be made to look huge if you simply get close enough. (Shout out to Ken Rockwell for being the first place I ever ran across the concept that wide angles are for getting up close, not getting it all in.) Some of the most dramatic reflections I have ever gotten of the night sky have been taken with my camera inches from the surface of some very small puddles.
Light it up!
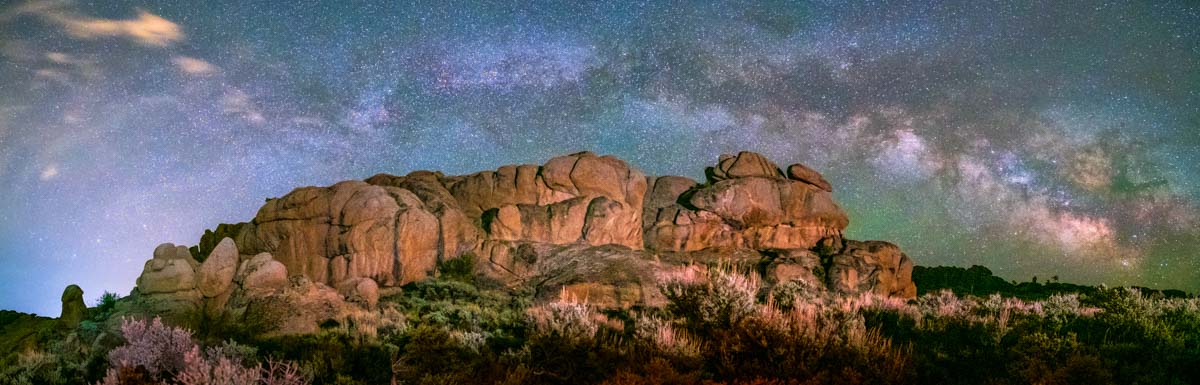
Lighting up a foreground object is the final category of ways to include foreground interest, though as noted above, there is some crossover here with the silhouettes. This is where the rigid math of getting the stars clear meets the art of painting light on the objects you are including in your foreground.
There are essentially three ways to light a foreground object, and they can be combined for a wide variety of results. You can rely on ambient light from light pollution of some type, paint light on with a bright source such as a headlamp or use low level landscape lighting (LLLL).
Using ambient light pollution can be tricky, but if you find yourself in a place where anything from a yard light to a whole city can be placed behind you as you shoot, the reflected light has a chance to give a soft wash of light on your subject. Planning with apps, as discussed in the first post in this series, can be very helpful in making this work.
Painting with light is probably the most spontaneous of the three techniques, and is exactly what it sounds like. Using a partially covered headlamp, flashlight, or even cell phone, you can selectively illuminate portions of a scene. In my experience, this takes a bit of practice, and some trial and error to get right, but the rewards can be worth the effort. Power of your light source and distance from the light to the object and the camera all affect this technique, so no formula is going to be very helpful.
One of the masters of the craft of LLLL, and the place I discovered the concept is photographer Wayne Pinkston. His tutorial on low level landscape lighting for astrophotography is basically a one-page master-class in the art of illuminating your foreground. What is more, he discusses the advantage of using lights that do not throw light around in ways that could ruin the shots of other photographers, something that is important to remember if you are shooting at recognizable landmarks where others might be out shooting as well.
I am far from the most experienced or dedicated photographer out there roaming around in the dark. One of the most used resources for learning about night-sky photography, especially early on when I was getting started, was the Lonely Speck blog. While I am only devoting a few posts to the night sky, Ian Norman and Diana Southern have an entire site devoted to all things Milky Way related. I highly recommend taking a look if you are interested in learning more.